NOVA MFA: Difference between revisions
Jump to navigation
Jump to search
No edit summary |
No edit summary |
||
| Line 1: | Line 1: | ||
This page is part of the [[Support Center]] guides for Advanced Users. | This page is part of the [[Support Center]] guides for Advanced Users. | ||
Multi-Factor Authentication (MFA) secures logins by requiring users to enter more than just their username and password. It adds an extra step in case a user's credentials have been compromised. | |||
For MFA-enabled users, logging in will require them to either authenticate via email or the Google Authenticator app. | |||
This article explains how to enable and disable MFA in the main portal. | |||
# Log in to the User Portal. | # Log in to the User Portal. | ||
Revision as of 13:55, 3 November 2025
This page is part of the Support Center guides for Advanced Users.
Multi-Factor Authentication (MFA) secures logins by requiring users to enter more than just their username and password. It adds an extra step in case a user's credentials have been compromised.
For MFA-enabled users, logging in will require them to either authenticate via email or the Google Authenticator app.
This article explains how to enable and disable MFA in the main portal.
- Log in to the User Portal.
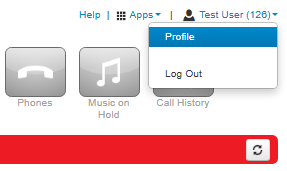
- Click on the Profile option in the user menu (top right of the screen).
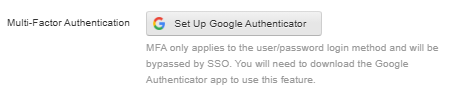
- Click Set Up Google Authenticator.
- Scan the 2D barcode
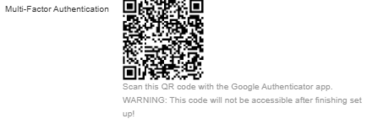
- Enter the passcode from your authenticator app into the Passcode field shown above.
- Enter your portal password in the Current Password field.
- Once this is done click on Save.


